Tuesday, March 6, 2012

Elise Anya [Reaper] - Final

Yep, I painted this as a gift.

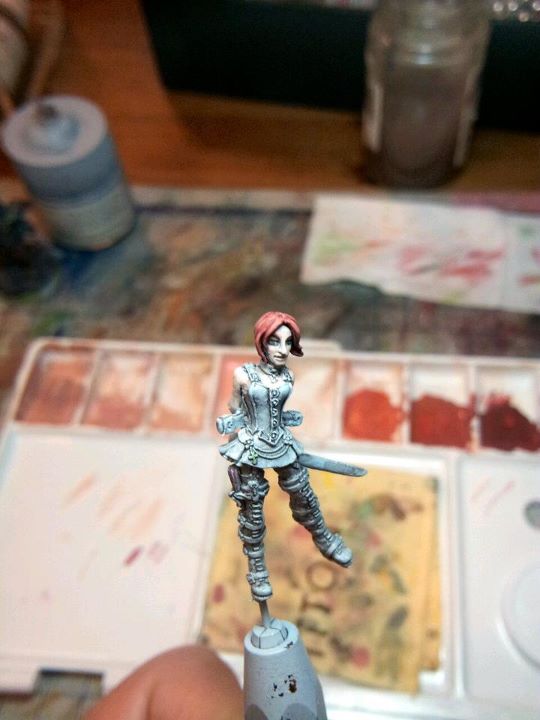
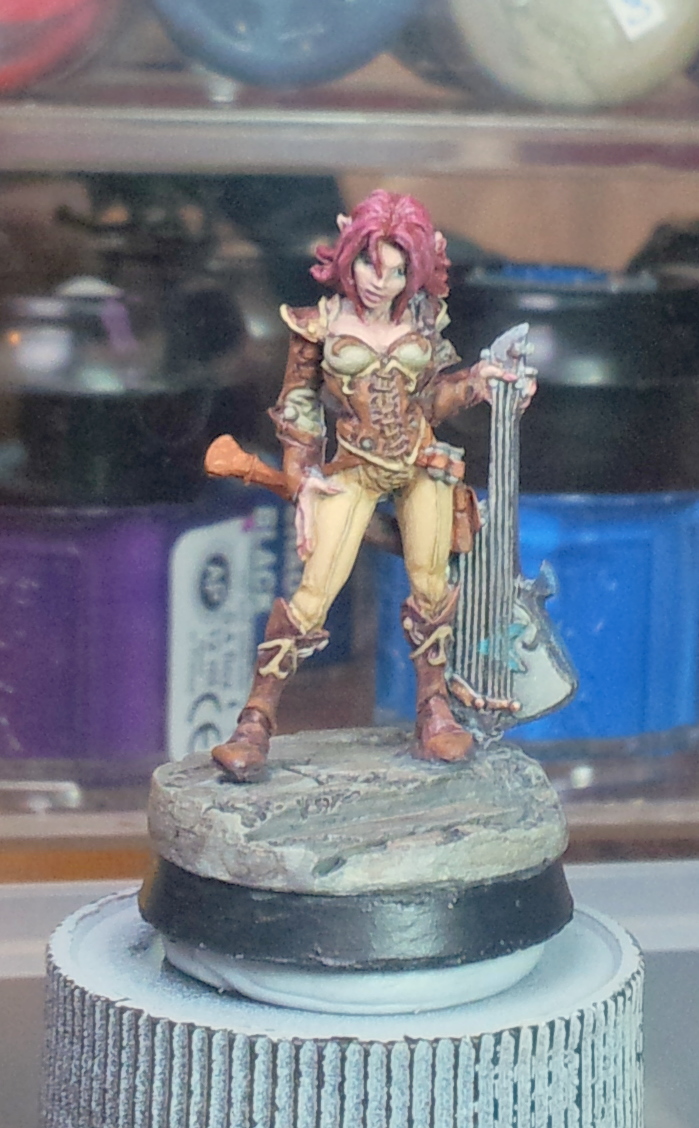
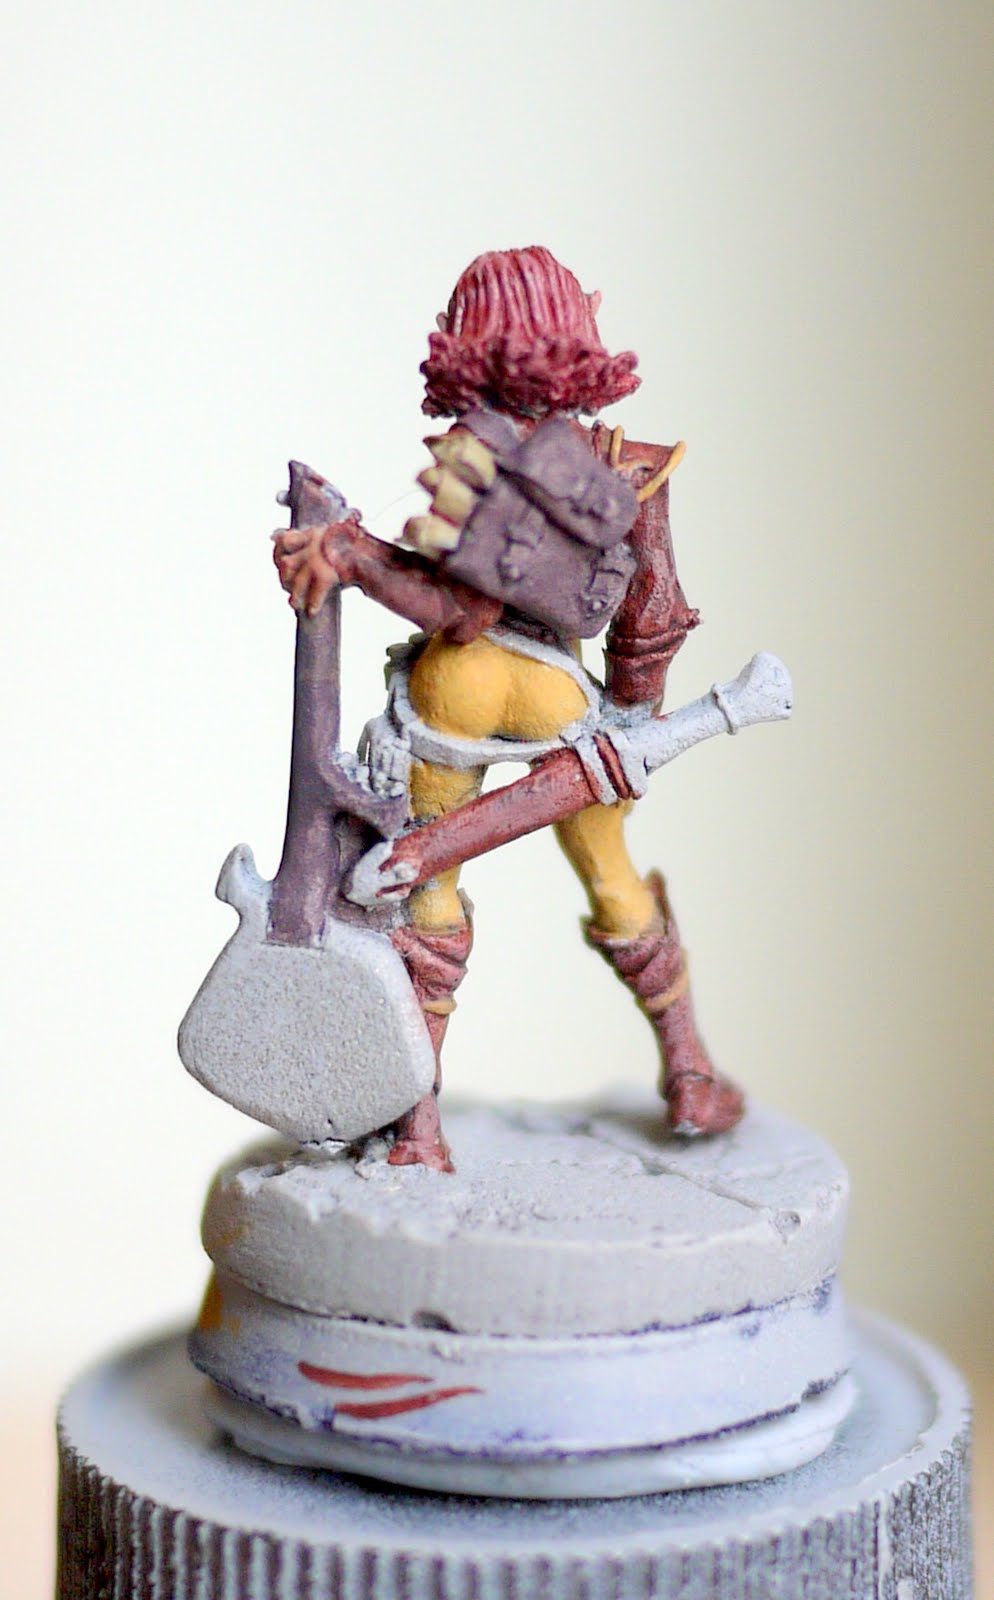
Took me about ten hours to finish.

new thing I did this time is when I base coat I lay down the mid tone first

only regret is that I haven't done the blending too well, and the boots was really too rough, but then

I like what I did with the highlight, highlighting is really something that I had done for so long now... Shadowing is a different story 


Elise Anya [Reaper] - WIP 6

Done a bit more to the base, highlighted the edges of the stone slabs... turn out ok I think

Elise Anya [Reaper] - WIP 5

This is the close to finish shot, I re-dotted her eyes with very light green.
lesson learned: use very, very light color for eyes

Elise Anya [Reaper] - WIP 4

finally got her on base
I can't decide on how to paint the goo....

Elise Anya [Reaper] - WIP 3

general mid-tone base coating....
putting in the shadows is harder than highlighting...
I'd get use to it...


Elise Anya [Reaper] - WIP 2

Dotting the eye... not too hard as her eyes are pretty big
but I ended up picking a color too dark and they didn't stand out really well.
ended up I need to dot it again after it's almost done

Elise Anya [Reaper] - WIP 1


First step is to clean the mini and remove the base that comes with it


took a while of drilling and clipping, the base is off with a bit of metal under her right shoe, so that I can drill into it for pinning

so pinning done, had her on a pin holder. Put on a cost of spray on primer, and started working on the dark lining with softbody black wash... made the mistake of adding water to the wash coz there is some ringing with larger pool of wash... oh well, another lesson learned.

Done for the first night... crappy photo though

Thursday, February 16, 2012

Sela - cutlass, gun and a monkey - part 5

So this is where I left her, I will be busy with other projects...
the eye of the monkey continues to be a problem, I guess the best way might be to darken the monkey face so that the eye pop? dunno, don't have time to try that.
To do, the metal parts, the belts, etc.... some day...

Wednesday, February 15, 2012

Sela - cutlass, gun and a monkey - part 4

So after I washed her to the metal I repainted her according to box art, the color looks a lot more ... believable and realistic.
the eye looks more natural as well, however I had a hard time making the monkey's eye to stand out


Tuesday, February 14, 2012

Sela - cutlass, gun and a monkey - part 3

So this is a color coordination disaster, she looks like a disney character here...
looking at the monkey I think the fur looks good though.
Anyway I washed her to the metal after a while
also her eye looks like a light bulb

Monday, February 13, 2012

Sela - cutlass, gun and a monkey - part 2

Again I am writing this about two months after having these pictures taken.
the eye is easier on here coz her eyes are bigger than most.  The eye of the monkey took a lot longer though, especially when I don't see a lot of monkey in real life, not close enough to see their eyes anyway.

Sunday, February 12, 2012

Sela - cutlass, gun and a monkey - part 1

i am writing a few more stage into painting this. in hindsight i should make the part where thr hair touch her pouch a lot deeper.
also i really should have applied deeper wash to thr deeper grove of the model. like thr part when the monkey met the shoulder and her hair.
anyway lesson learned.

Saturday, February 11, 2012

Sela - cutlass, gun and a monkey - part 0

So let's start raw.
This is her, posing in the pack, with a resin base from another miniature of MicroArt, they do make good base really.
not a lot of pieces, but the shoulder-arm joint is a bit odd, as part of her shoulder is showing, so in hindsight I should have apply some green stuff to make the joint smoother... oh well.

Tuesday, January 31, 2012

Astrid - repainted - part 8: final shots and final thoughts

From Evernote:

Astrid - repainted - part 8: final shots and final thoughts

Well, she is out of my hands and into the loving hands of my dear friend now.

A lot more could have been done of course, but I see this as a vast improvement to the last paint job on her.  

in hindsight, I think I need to keep a notebook or just to keep a list here on my blog to remind myself what needs to be done, which part up to where, which color mix I used, etc.

anyway, lesson learned, good bye Astrid.

Monday, January 30, 2012

Astrid - repainted for the love of the hobby - part 7

From Evernote:

Astrid - repainted for the love of the hobby - part 7

So did I mentioned that this is my first free hand? well it is.
not as hard as I thought, but the thing is that I could have do some outline on it first, but I didn't, coz it's white line...
the base color could have been darker and more contrast too... 
oh well, I'd say it's not bad as a first try.

these shots are to check for errors, I need to give it out on 31st so I can't really fix anything here...

in hindsight I could have used a better base, do a lot more on her sword, backpack could use a lot more sanding and highlights...
again, lesson learned, I am getting a small sander :)
  

Astrid - repainted for the love of the hobby - part 6

From Evernote:

Astrid - repainted for the love of the hobby - part 6

So these things always happen, my brush tip slipped and landed on her forehead. good that it's very thin and it's easy to cover up
so I ended up laying a few more layers of paint on her face
and now it's smoother than before,
so it's not really a huge loss


Astrid - repainted for the love of the hobby - part 6a

From Evernote:

Astrid - repainted for the love of the hobby - part 6a

Color tester mini - This is another first for me.  Seeing that I got a shelf full of half finished mini I thought I might just grab one of them and use him as paint tester. 
It works out quite well too, no need to take any chances, but seems bit unfair to the poor mini though...

Friday, January 27, 2012

Astrid - repainted for the love of the hobby - part 5

From Evernote:

Astrid - repainted for the love of the hobby - part 5


So I finally got around to paint her face.
As usual I got my 2:1 1:2 mix - that is, I mix foundation with shadow, and work my way up to lighter color...
that was a mistake. 
In the past I used to do 2:1, then 1:1, then 1:2 mix, so between each shades I got 3 different successions, but I thought since I thinned down the mix so much I can get away with one mix less...


I put this shot in because her skin looks smooth, and this actually is very close to how I look at her with naked eye


The result of one less mix, is that her expression is a lot more intense, giving the impression that her feature is more pronounced and therefore a more intense look...
ho well lesson learned. 


Thursday, January 26, 2012

Astrid - repainted for the love of the hobby - part 4

nothing exciting here, except for a lot of touch ups and filling in on missed bits.  I am happy with the triangle on the instrument, but it's not perfect though.  It's again good experience for the next mini.


Wednesday, January 25, 2012

Astrid - repainted for the love of the hobby - part 3

not a lot of progress with this shot... to the untrained eye perhaps. I am very happy with the details I picked out this time around, the hardest part is perhaps the strings that run down the center of her body.  it was mostly done with wash and very tiny lines of highlights. Good experience.

Still nervous about missing out on highlighting her, I did quick dry brushing on the brown parts so that I'd remember to do highlights.  In hindsight this actually would have helped if I had used a even lighter color for the dry brushing, this is because I thin down my paint a lot and the black/dark-white contrast actually shows through.

The face looks a bit flat because I haven't done anything to it yet.  I had been busy for a while, when I am tired I won't have good control of the brush.

Related Posts Plugin for WordPress, Blogger...