Monday, February 24, 2014

Painting Reaper Bones - basing

Hi everyone.  After getting this lot of BONES back in Oct last year, I had just started my first BONE.  I'd talk in length about my thoughts on it after I am finally done and got something to show for it, so let's just look at the base for now...


That's her standing there, tall and proud with her guitar.  This is the third time I paint her, the first two times I painted the metal version of this miniature, it will be interesting to see how the experience this time differ from the metal version.  The base is from Secret Weapon bag of crap, picked that up recently for an army project that I have in mind.


The base comes with a bit of defects of course, this one comes with a few large bubbles that could be easily fixed with green stuff.


Took me a while to remove the base off the miniature...


This is the first mock up of the set up.  The few weapons actually cost more than the miniature itself, that's a first for me.


Now that I am very familiar with the wet blending technique base coating the base is very easy.  Although it already looks pretty good without air-brushing, I've still done it to get the light/dark shading happening.


Air-brushing is really a super time saver, I need a better solvent for it though.  The one I am using now is said to be good for leveling the paint, so it seems to be very thin.  Although it comes out very smooth and nature, it takes a lot more 'passes' to get a solid shade...


I had actually already glued all the weapons on the base, but again not too happy with the result so far.  Will get some better pictures to show what I meant.


Monday, February 17, 2014

20,000+ hit! and Wyrd's Bishop

Hi everyone and yes, this little blog got more than 20,000 hits! Much thanks to a few SEO tricks even with such little updates these few months the blog still got a lot of random hits.

Haven't painted for a long time, not that I stopped entirely but more because I haven't been too pleased with the results I got lately.  This is Bishop from Wyrd.


Comparing to the box art my Bishop is very dark and there isn't enough high lights. The air brushing shadow and light technique could only bring me this far and I think I should do less with it. 


I felt that his left shoulder is a bit too big, but I guess that's the thing about sculpting by hand instead of computer 3D sculpting, there'd always be little things that didn't quite go well.  These days wyrd had moved towards plastic and 3D sculpting, and their art work changed a lot too.  Not such a bad thing though their new miniatures are less attractive to me now.


The base came from Secret Weapon miniatures, it's a resin base.  Got this from 'bag of crap' purchase.  It got a lot of details and the stone textures are very convincing.


The one part that I am happy with is perhaps his shoulder plate, where I managed to get out the fine gap between the two plates, and all the nails on the rim. The hand I thin was nicely painted too, can't say much about the rest of him though.


Monday, January 20, 2014

Bombshell Miniatures - Wu Ling Shu

Hi everyone!

Haven't been painting a lot really, but since this is a commission I made time for her.  Haven't done anything fancy with the pictures though... anyhow it was fun painting, especially nice painting a good sculpt like this one.


A two pieces miniature from Bombshell Miniatures.  Good thing about her is that she got a really good face and the proportion was done right.  Bad thing is that the clothing isn't too right: the cloak on the back didn't really work, and the bandages on the hand is a bit odd.  but none the less the face is really outstanding.


She is really easy to paint, one regret is that I could have gone for a much higher contrast with my first coat with air brush: the contrast on the face isn't too obvious.  The rest is fine though.

Cannon EOS 40D
Canon EF 100mm f/2.8L Macro IS USM

Cannon EOS 40D
Canon EF 100mm f/2.8L Macro IS USM

See how the belt is outside of cloths? I can't figure how this would appear in real life...

Cannon EOS 40D
Canon EF 100mm f/2.8L Macro IS USM

Cannon EOS 40D
Canon EF 100mm f/2.8L Macro IS USM

Compare to a miniature from Tales of War, they are roughly the same scale.  but I guess because of the style the guy followed he looks a bit bigger than her.  Nonetheless they make a really good couple.

Cannon EOS 40D
Canon EF 100mm f/2.8L Macro IS USM

Sunday, December 15, 2013

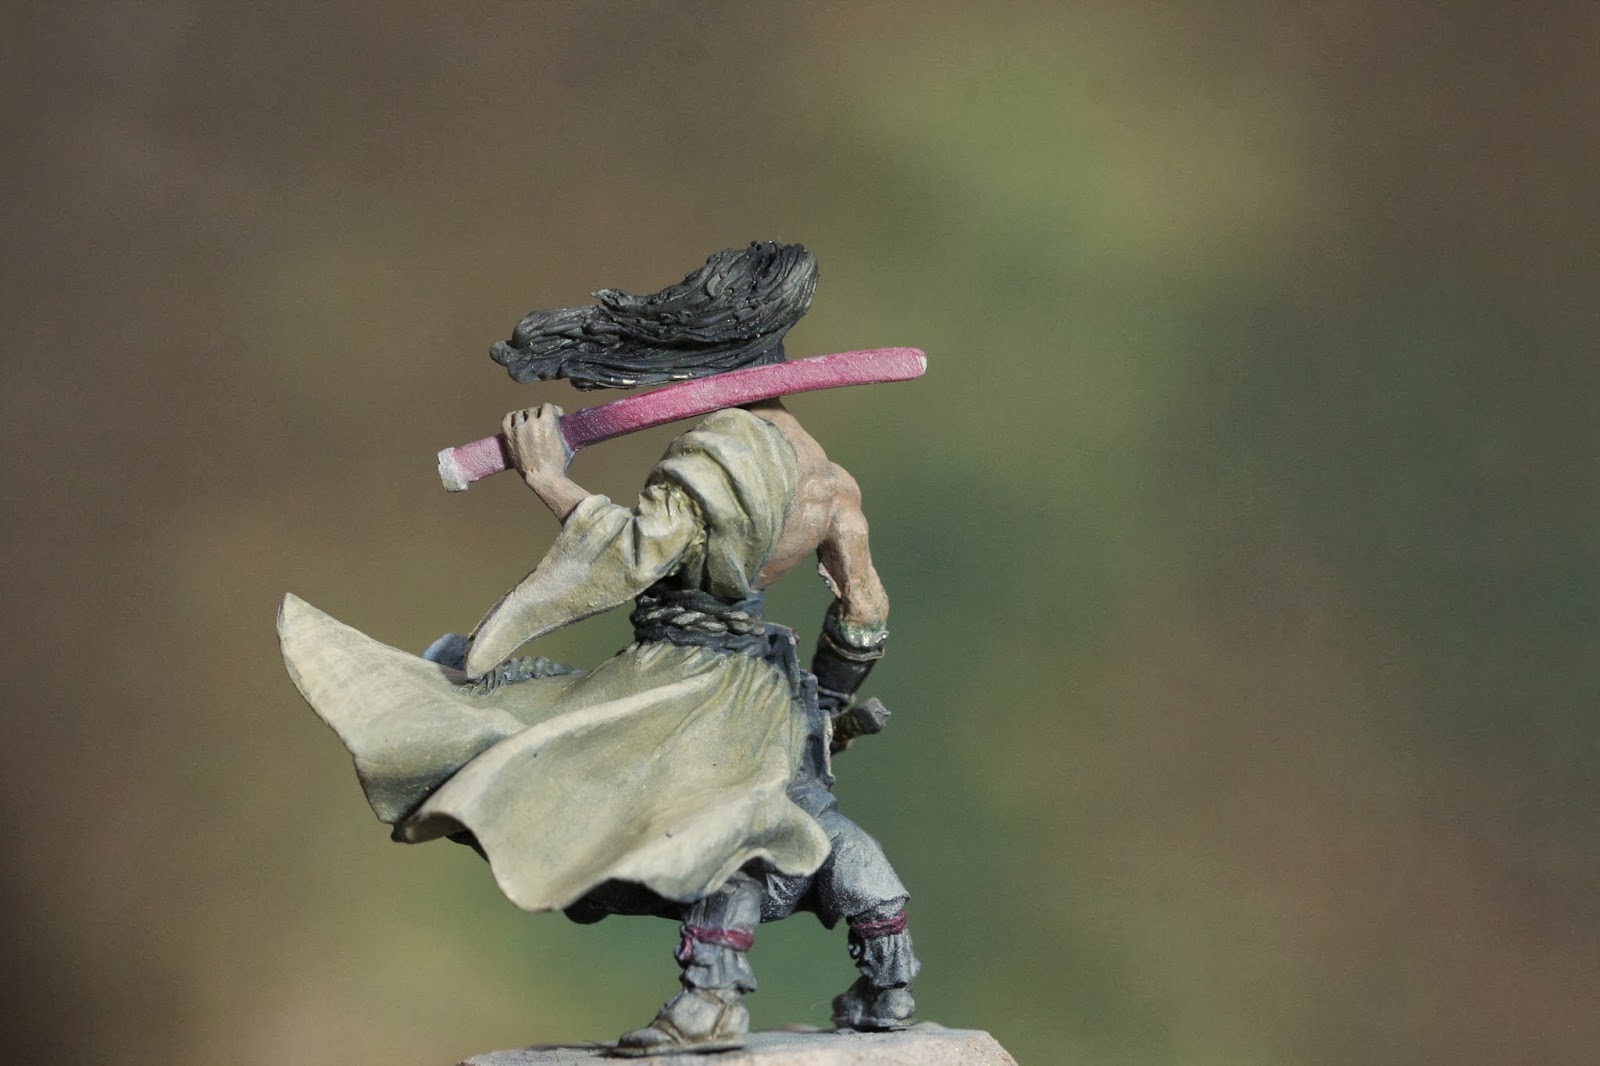
Assembly, Tales of War Kenjiro WIP

Hi everyone

Let's look at the current stage photo before listening to me talking about the tough stages that I went through.


So what happened is that when I put his arms to his body there are huge gaps between them.  The left arm is easy cause it really is just a gap, but for the right arm there's an entire bit missing: I ended up sculpted his elbow with green stuff, look a bit odd but I don't think people would have suspected it.  The second photo is a monochrome shot because I wanted to see if the sculpt is smooth enough.


Wednesday, December 11, 2013

Base-coating, Tales of War Kenjiro WIP

Finally got my mood around to continue painting the guy. Done the eyes with GW Black wash as it was so tiny. Need to put in a little bit of white for a sharper gaze though, else the close up will look bad. The muscle tone now actually looks very flat as I had only done it with one color now, good that the air-brush base paint helped with bringing out the contrast.


The best feature is perhaps his ... pants? very nice effect done by air brush. Butter pictures later.


Thursday, November 28, 2013

Tales of War Kenjiro

Hi everyone, it's time to start a new project.  This is my second commission job, the second of the five paint jobs I promised to do for him.  This time around it's Kenjiro from Tales of War, it's very fortunate that I got to paint him cause I have always wanted to buy and paint him some days.  And yes, here's my cute little assistant Yotsuba-san!

He is a three pieces miniature where the body is molded in one piece and the arms come separate.  It's a good cast with very clever placement of the mold lines so cleaning it was easy.  The folds at the bottom made mounting it on the holder a bit difficult as I had to finish base coating it first, otherwise it would be to hard to use the air-brush on them when it's on the holder.


His pose, a waiting stance, was why I held off buying him for so long.  As far as I could remember he has been around since I started painting.  I can't figure out what he is waiting for and seems making a base that give the sense of a windy environment seems hard.  Good thing is that the guy didn't need me to make a base for him and I just have to set him on a cork.


One lesson I learned form the past is the met tab that comes with the miniature is very important for mounting it on a holder, and it's a lot easier than using a pin.  Especially for miniature like this one where the feet are small and thin.


I cut out two small slots on the cork so the mini can slot onto the cork. But before I put any white glue on it I'd have to prime and base coat the folds underneath first.


PS: These days I am dealing with some personal issues hence I haven't updated this blog as often as I had, and haven't done much painting either... Hope things will get better for me soon.

Tuesday, November 19, 2013

"The Rescue" - Reaper LE Sci-fi Sophie diorama

Hi everyone,  after working on this for a month I had completed it up to a stage where my current skill level couldn't improve it any further, plus I wanted to bite through the rest of my pile of miniature and I want to start working on another commission job, here're my Sci-fi Sophie completion shots.

The most important element of this diorama is of course Sophie.  But with the sculpt you can see that she is looking down, that was why I need to spend so much time working on the rest of the set up: to give her something to look at.


This is an overview shot of the set up.  I could have done a lot more air- brushing with the structure, giving it more dramatic lighting effect, but because this is my first serious larger diorama I was again rushing towards the end a little bit, so I haven't.  Likewise the weathering could have been done a lot better.  I would take a better shot of her later, the wing is just slotted onto the column by two brass pin so I still have a chance to change her pose if I wanted to.


The scene below took me a lot of work.  Painting infinity miniature is always enjoyable as they offer appropriate details and very sharp outlines and recesses.  Had some fun making the severed arm and adding the loose wires in, will take more close up shots later.


Back story:
"The base was abandoned due to the land slide.  A ferret made a home among the cracks of the boulders. Sophie led two drones to check up on the base to see if it is possible to clear the boulders out.  The first drone landed on the yellow flowers and slipped, broke the hip joint and its arm upon impact on the ledges. The ferret, which was alerted by the commotion, came out and saw the severed arm.  With its natural habit of picking up loose items it took the arm by the loose wires and drag it to its lair.  Just then the second drone landed next to the fallen drone.  The drone didn't notice the ferret at first.  When it finally did, it got into battle stance, just then Sophie arrived, descending upon the scene, amused."


Here's a close up on the 'air-borne' Sophie.  The most fun I had with her is perhaps when I paint her suit.  It was only air-brushed with shadow and highlight, plus a thin blue base paint.  Because I got the contrast right this time I don't really have to paint on the blue highlights.  Same thing goes with the armor plates, which is in the same colors as the remotes.


Thank you for reading :)

Go back on the WIP adventure featuring Yotsuba-san!:
http://51-cent.blogspot.hk/search/label/sci-fi%20sophie


Forum links
This entry is replicated on the following popular miniature related forum:
WAMP Forumhttp://www.wampforum.com/VB4/showthread.php?t=16347
Reaper message boardhttp://www.reapermini.com/forum/index.php?/topic/52491-the-rescue-reaper-limited-edition-sci-fi-sophie-diorama/
CMON Forumhttp://www.coolminiornot.com/forums/showthread.php?55296-quot-The-Rescue-quot-Reaper-LE-Sci-fi-Sophie-diorama


In case you don't know who Sophie is, she is the mascot of the Reaper Miniatures.  Reaper is one of the biggest manufacturer of 30mm miniatures, mainly fantasy themed and they also have a comprehensive ranges for modern days and sci-fi adventure setting.  The following is something about this very special miniature (quoted from Miniature Giants)

Reaper Con 'SciFi' Sophie 2007 (Limited Edition, Discontinued), 

Reaper Con figures, like this one, were only available during the week of ReaperCon, in this case May 17-20, 2007, and were not made available to distributors. Furthermore, after the week of the show, the mold is retired and no additional figures are cast. This 25mm scale figure was featured on the cover of Reaper's Casketworks catalog #22 and displays a clever combination of SciFi and classic fantasy.


Related Posts Plugin for WordPress, Blogger...