Showing posts with label secret weapon base. Show all posts

Wednesday, December 10, 2014

Stone Slabs Street Showdown - building the base

It was a learning experience.
(This turns out to be a very long entry and got a lot of photos... )

I made a lot of mistakes, acted on impulse and bought a lot of material out of impulse as well.  So as it turns out I don't need a lot of the stuff I bought and I wasted a lot of material along the way as well.


I did a mock up by just putting together some stock paper and wood.

Then I just stuff the spaces with a lot of clay, really, a lot of clay. but as I realized that it was a waste I started to use more wood to set up the base first, to fill up the spaces so that I don't need so much clay.


got to love Juweela bricks.  I had been using them on a lot of my models.  This time around I learned something more about them: don't prime them, just paint on them.  I made such a mistake and it took me a lot more work to get it look real.  Also, it pays to put some space between them.  In reality they won't be so neatly packed together like that.


This is how it looks like after I filled in the tiny gaps between the bricks, primed, washed and added a lot of pigments.

Canon EOS 40D
Canon EF 100mm f/2.8L Macro IS USM
1/6s f/5.6 ISO:800

So when I had learned my lessons I used a lot more wood to make some framework under bigger wood panels so that I don't have to fill the spaces with expensive clay again.


And when It's done I just put a thick layer of clay on top, and start sculpting the surface to make them look like stone slabs.  I smooth out the surface by dripping a lot of water on top of it and smooth it with finger. It was quite messy actually. I sprinkled some sand on it so that it got more stone like texture.


This is how it looks like after priming an air-brushed.  Back when I was trying to smooth it out I used a lot of water, so at the end there were a lot of 'spikes' as the clay behaved like whip cream.  I ended up having to clip away the spikes to make it look more natural.

Canon EOS 40D
Canon EF 100mm f/2.8L Macro IS USM
1/6s f/5.6 ISO:800

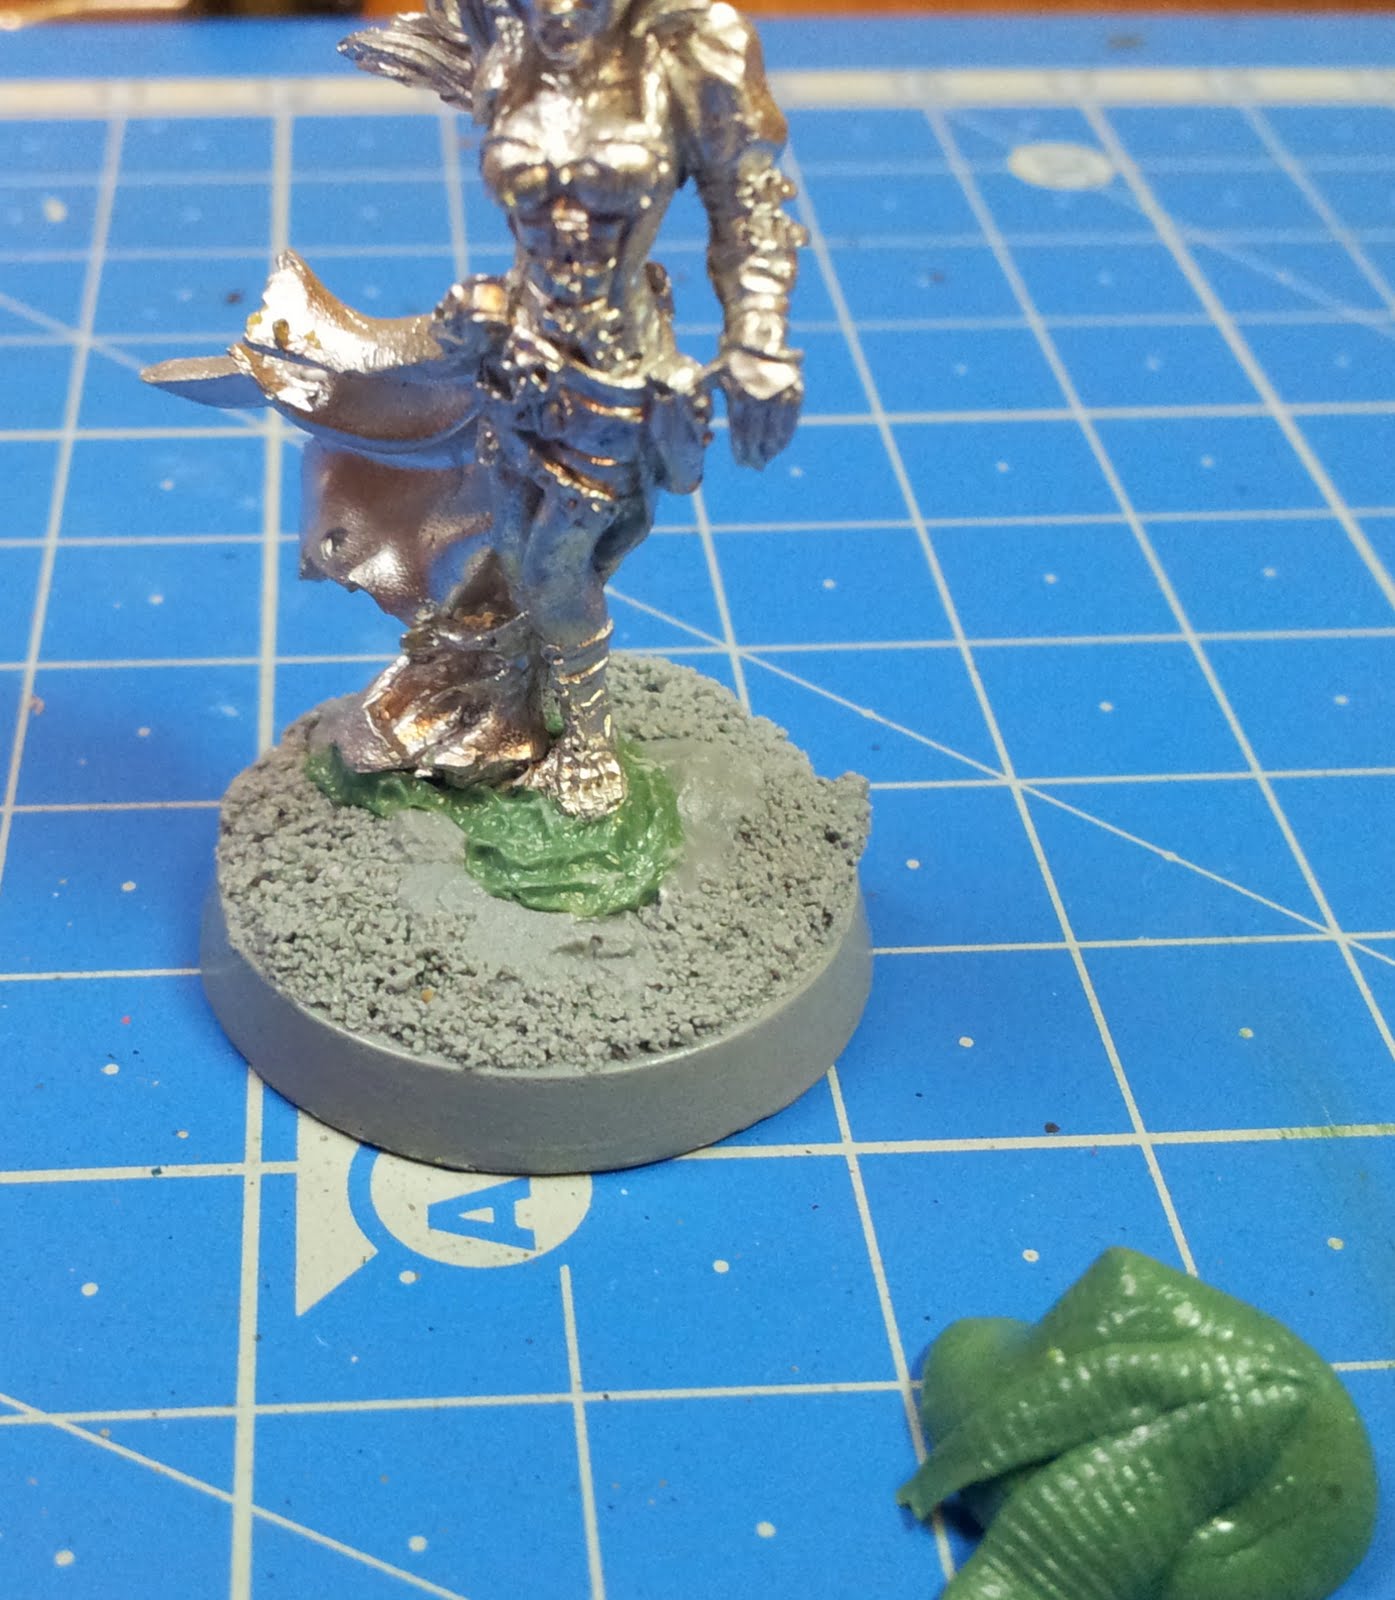
I know it isn't a good thing to re-cast, but this is only for me and I am not selling it so I hope secret weapon won't mind.  I got a huge 50mm base from Secret Weapon's sack of crap, and re-casted a sewer cover (man-hole) with green stuff. It then was put near the path that cuts through the stairway.  I am hoping that it would create a sense that there is something more out there outside the boundary of the base.


This is how the path looks like.  I traced lines on the path so that it looks more like concrete road in Hong Kong.

Canon EOS 40D
Canon EF 100mm f/2.8L Macro IS USM
1/6s f/5.6 ISO:800


Tuesday, January 31, 2012

Astrid - repainted - part 8: final shots and final thoughts

From Evernote:

Astrid - repainted - part 8: final shots and final thoughts

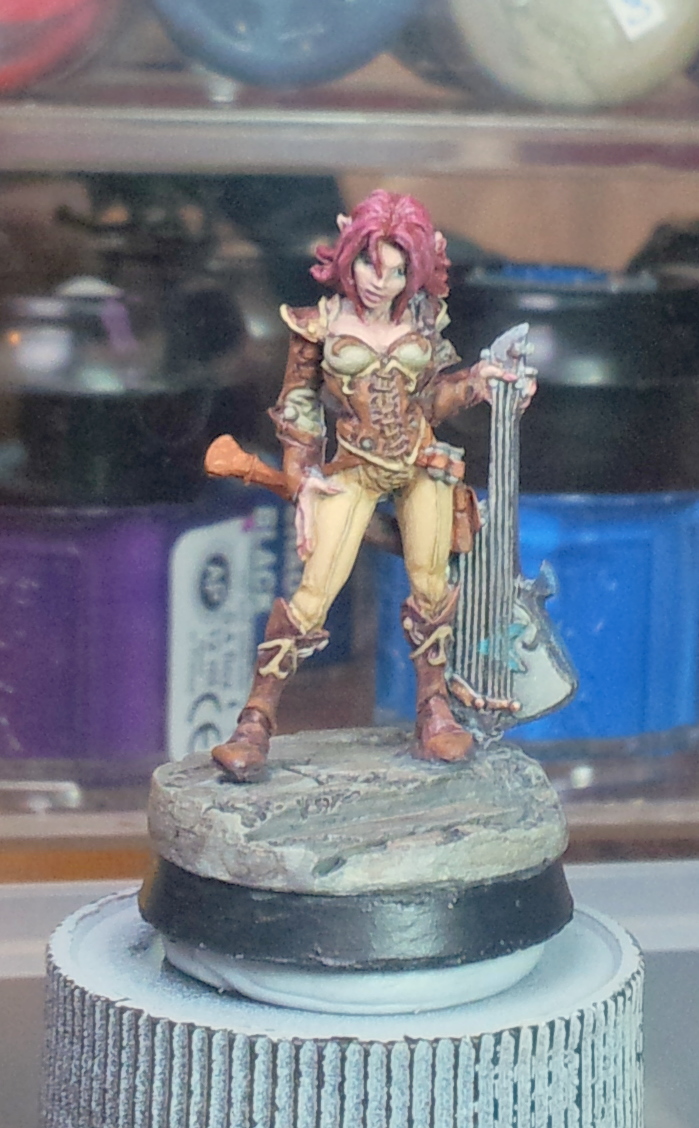
Well, she is out of my hands and into the loving hands of my dear friend now.

A lot more could have been done of course, but I see this as a vast improvement to the last paint job on her.  

in hindsight, I think I need to keep a notebook or just to keep a list here on my blog to remind myself what needs to be done, which part up to where, which color mix I used, etc.

anyway, lesson learned, good bye Astrid.

Monday, January 30, 2012

Astrid - repainted for the love of the hobby - part 7

From Evernote:

Astrid - repainted for the love of the hobby - part 7

So did I mentioned that this is my first free hand? well it is.
not as hard as I thought, but the thing is that I could have do some outline on it first, but I didn't, coz it's white line...
the base color could have been darker and more contrast too... 
oh well, I'd say it's not bad as a first try.

these shots are to check for errors, I need to give it out on 31st so I can't really fix anything here...

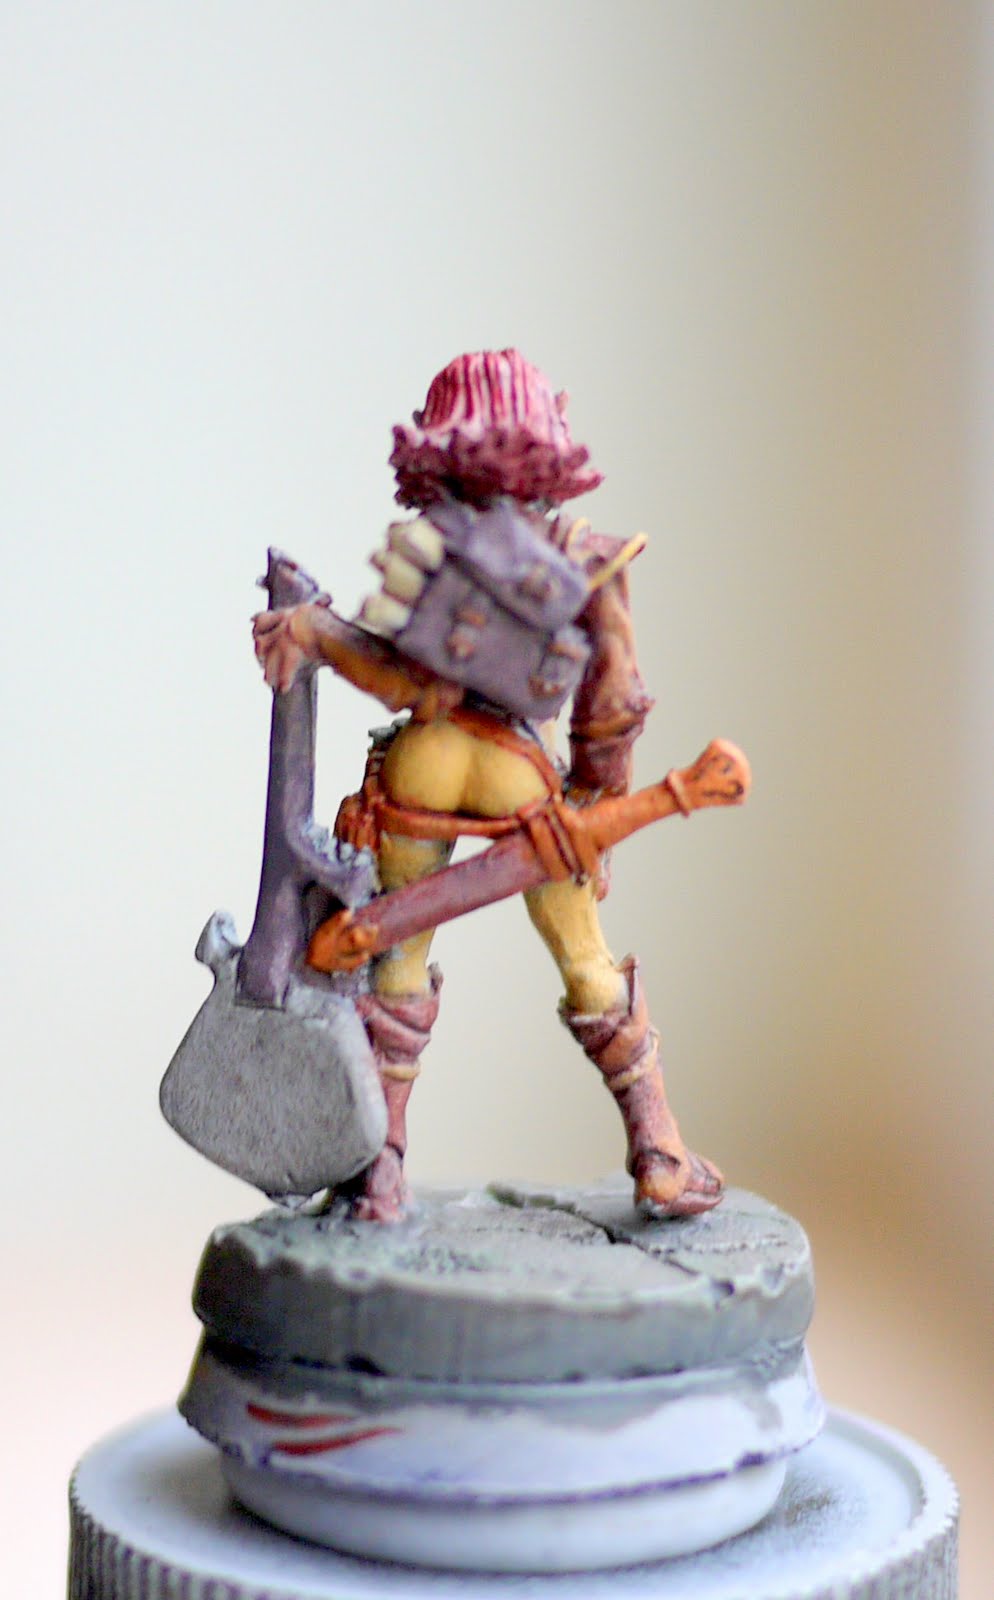
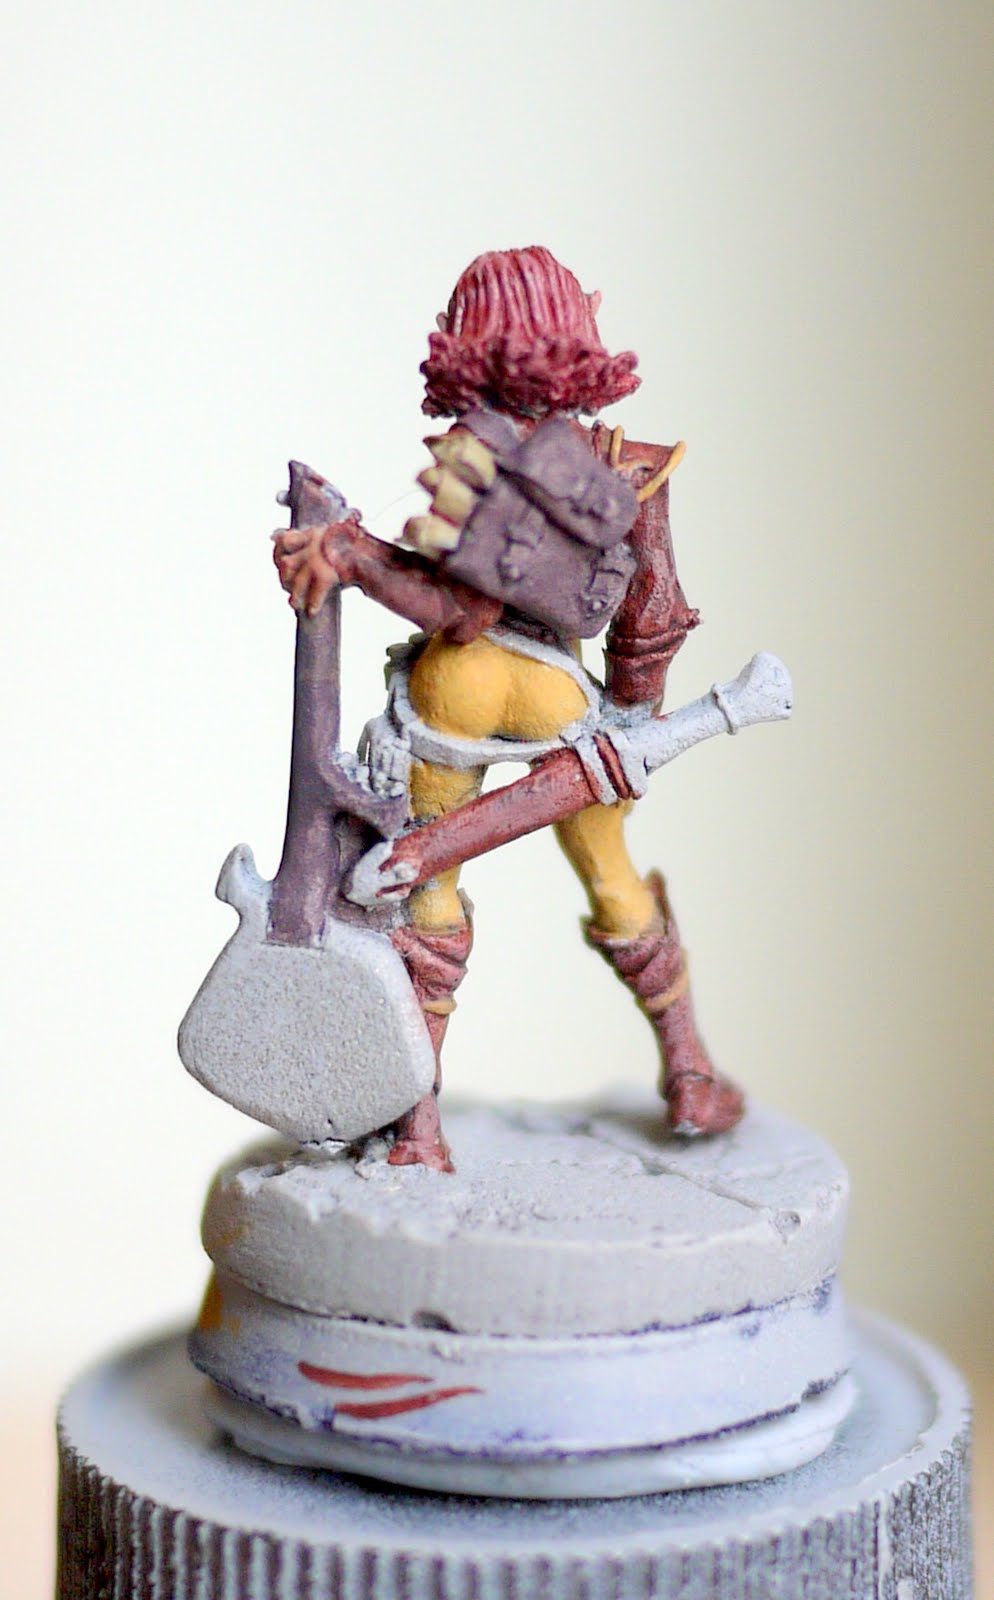
in hindsight I could have used a better base, do a lot more on her sword, backpack could use a lot more sanding and highlights...
again, lesson learned, I am getting a small sander :)
  

Astrid - repainted for the love of the hobby - part 6

From Evernote:

Astrid - repainted for the love of the hobby - part 6

So these things always happen, my brush tip slipped and landed on her forehead. good that it's very thin and it's easy to cover up
so I ended up laying a few more layers of paint on her face
and now it's smoother than before,
so it's not really a huge loss


Astrid - repainted for the love of the hobby - part 6a

From Evernote:

Astrid - repainted for the love of the hobby - part 6a

Color tester mini - This is another first for me.  Seeing that I got a shelf full of half finished mini I thought I might just grab one of them and use him as paint tester. 
It works out quite well too, no need to take any chances, but seems bit unfair to the poor mini though...

Friday, January 27, 2012

Astrid - repainted for the love of the hobby - part 5

From Evernote:

Astrid - repainted for the love of the hobby - part 5


So I finally got around to paint her face.
As usual I got my 2:1 1:2 mix - that is, I mix foundation with shadow, and work my way up to lighter color...
that was a mistake. 
In the past I used to do 2:1, then 1:1, then 1:2 mix, so between each shades I got 3 different successions, but I thought since I thinned down the mix so much I can get away with one mix less...


I put this shot in because her skin looks smooth, and this actually is very close to how I look at her with naked eye


The result of one less mix, is that her expression is a lot more intense, giving the impression that her feature is more pronounced and therefore a more intense look...
ho well lesson learned. 


Thursday, January 26, 2012

Astrid - repainted for the love of the hobby - part 4

nothing exciting here, except for a lot of touch ups and filling in on missed bits.  I am happy with the triangle on the instrument, but it's not perfect though.  It's again good experience for the next mini.


Wednesday, January 25, 2012

Astrid - repainted for the love of the hobby - part 3

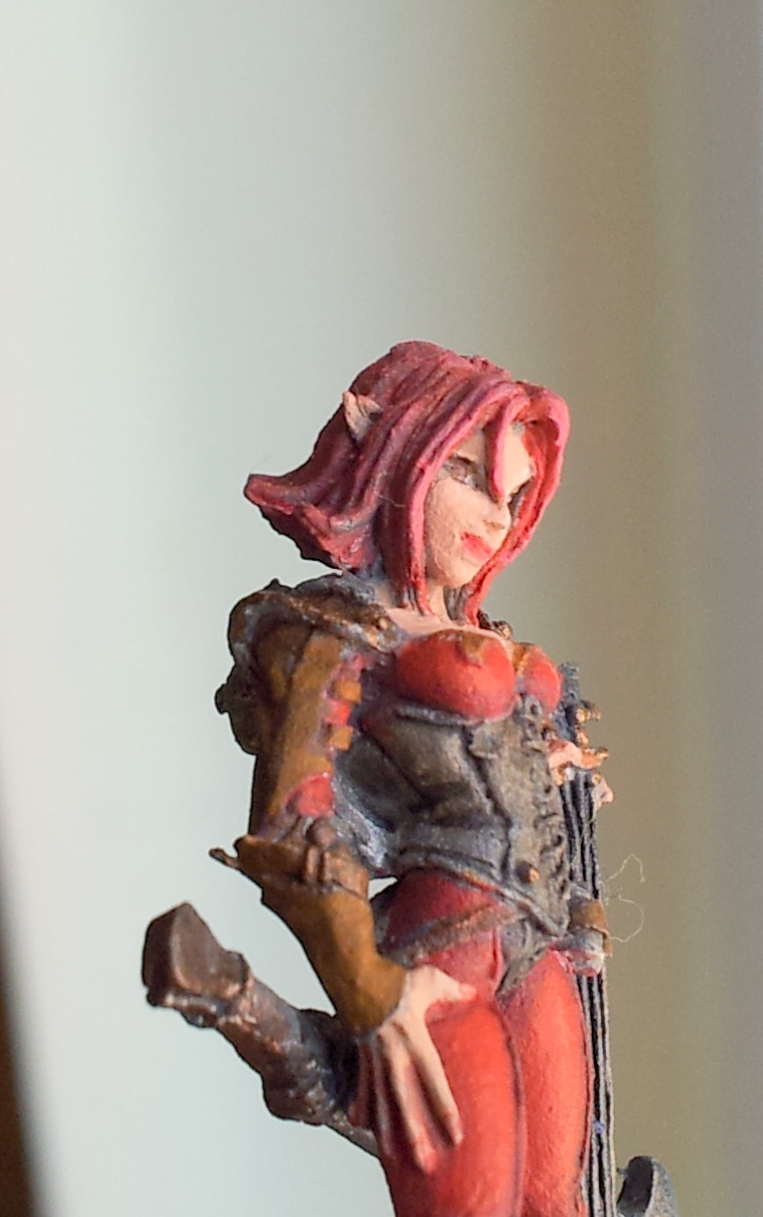
not a lot of progress with this shot... to the untrained eye perhaps. I am very happy with the details I picked out this time around, the hardest part is perhaps the strings that run down the center of her body.  it was mostly done with wash and very tiny lines of highlights. Good experience.

Still nervous about missing out on highlighting her, I did quick dry brushing on the brown parts so that I'd remember to do highlights.  In hindsight this actually would have helped if I had used a even lighter color for the dry brushing, this is because I thin down my paint a lot and the black/dark-white contrast actually shows through.

The face looks a bit flat because I haven't done anything to it yet.  I had been busy for a while, when I am tired I won't have good control of the brush.

Tuesday, January 24, 2012

Astrid - repainted for the love of the hobby - part 2

Not only had I washed it to the metal, I had also removed a lot more mold lines as well, one regret, looking back, is that I should have give her face some more sanding and perhaps even use miliput to smooth it out
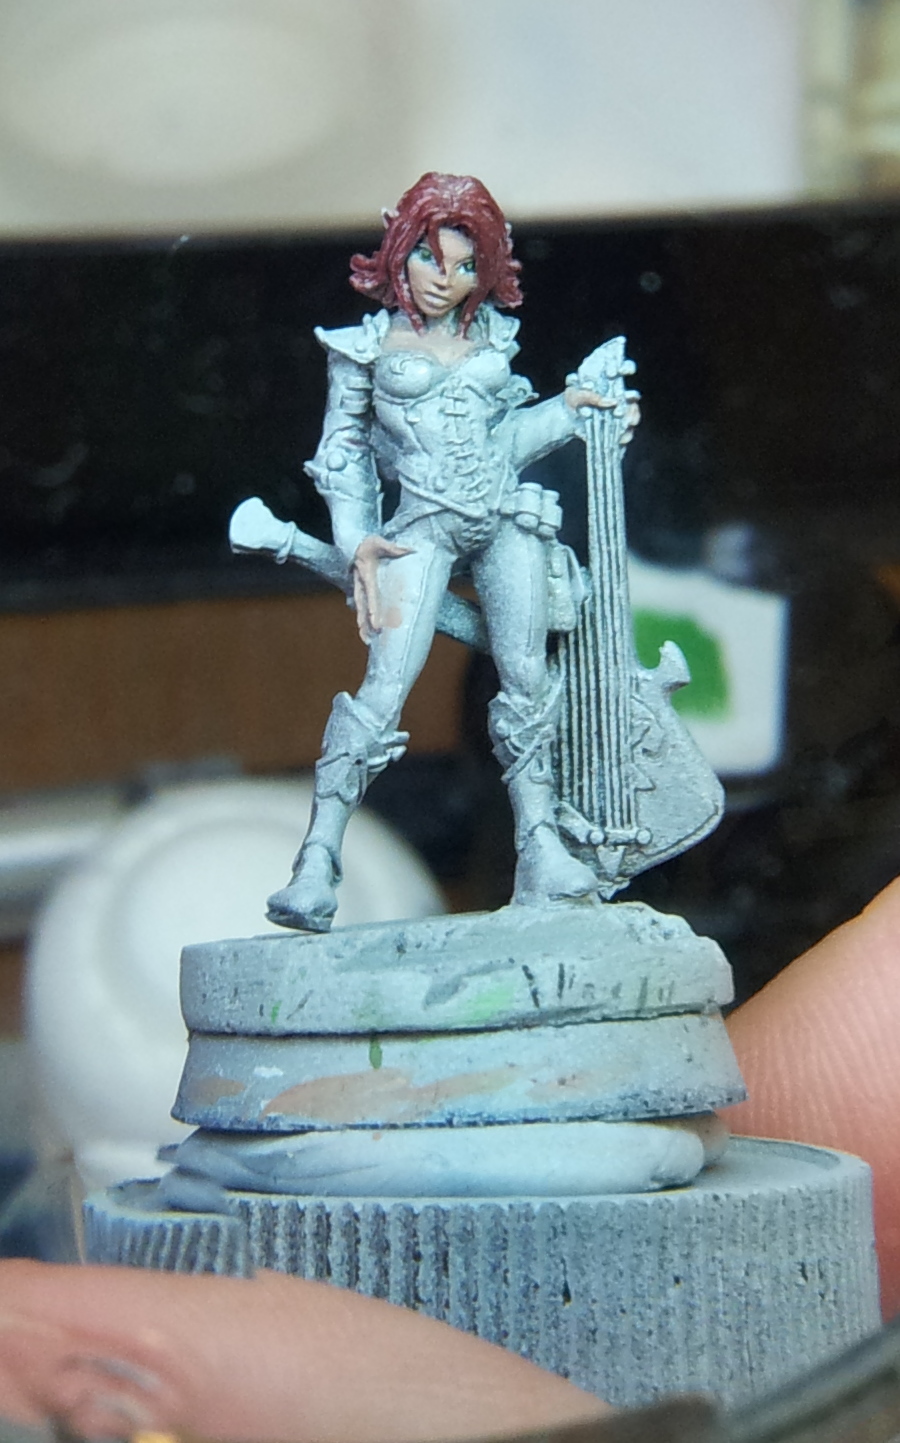
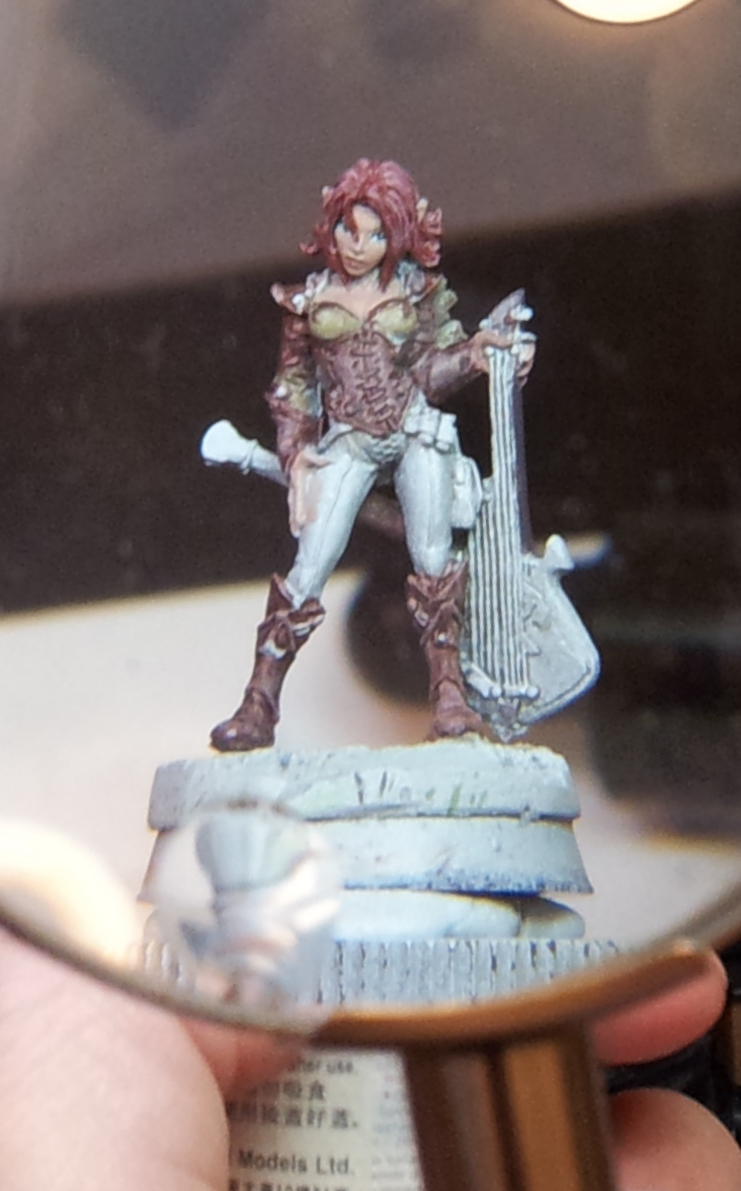
Different from last time, her prime was done with spray on primer, much, much easier.


As always I had done the face first. This time around I did the base coat of the hair and face first.  Reason is that the hair is always very close to the eyes and face, if I had done the eyes painting the hair is nerve racking.
and this time, I use a whole bunch of minor techniques I learned from experience, I am proud to say that I am happy with how her eye turns out.  next level is to dot the pupil will have to wait for the next one though...


this time around, I out a lot more effort into base coating her, putting wash here and there so that I won't forget the details.

Monday, January 23, 2012

Astrid - repainted for the love of the hobby - part 1

  • hi everyone
  • I repainted her because she had been sitting on my shelf for a long time as I can't decide on the color of her body... then as time went by I learned a lot more and painted a few more mini, when I sat her side by side with my new ones she seems not too impressive
  • It was not too hard to give her the wash, but before that, I took a few more shots
  • I think her eyes and face is decent, but I missed out on a lot of details on her cloths.

One last shot before the bath....


Tuesday, November 22, 2011

Primed, washed and a bit of skin base coat

Primed, washed and a bit of skin base coat
The wash is really to test if my prime spray is too thick, I think this time I had overdone a bit...
The skin base coat is just to make sure if her skins are smooth enough

The sword and the handle is a bit bent, but I see that happening on others too so I am not too concerned
the two skull on the sword are a bit odd, oh well...


Terezinya [Reaper] prep stage

The shipment finally arrived, to save a few bucks I had someone brought them to me instead.  Turns out the paints, being liquid, made the airport ppl cut away all the tab locks of the suitcases...

Anyway, she is the mini Terezinya (Reaper 02826) by Werner Klocke. 
Again, another beautiful mini from Werner, love his work, some issue with the face/head to body proportion as well, but I like this style


after a bit of sanding and cleaning flash lines, I need to remove section of the base
In hindsight I could have just cut into the resin base instead of cutting the metal base that come with her
but then again the left sandal really stands out now. 
I did something stupid with the pinning, I should have pinned it right at the center of her leg
oh well lesson learned 


 now there's a small gap between the mini and the base

green stuff


Done, ready for priming


Related Posts Plugin for WordPress, Blogger...