Showing posts with label limited edition. Show all posts

Tuesday, November 19, 2013

"The Rescue" - Reaper LE Sci-fi Sophie diorama

Hi everyone,  after working on this for a month I had completed it up to a stage where my current skill level couldn't improve it any further, plus I wanted to bite through the rest of my pile of miniature and I want to start working on another commission job, here're my Sci-fi Sophie completion shots.

The most important element of this diorama is of course Sophie.  But with the sculpt you can see that she is looking down, that was why I need to spend so much time working on the rest of the set up: to give her something to look at.


This is an overview shot of the set up.  I could have done a lot more air- brushing with the structure, giving it more dramatic lighting effect, but because this is my first serious larger diorama I was again rushing towards the end a little bit, so I haven't.  Likewise the weathering could have been done a lot better.  I would take a better shot of her later, the wing is just slotted onto the column by two brass pin so I still have a chance to change her pose if I wanted to.


The scene below took me a lot of work.  Painting infinity miniature is always enjoyable as they offer appropriate details and very sharp outlines and recesses.  Had some fun making the severed arm and adding the loose wires in, will take more close up shots later.


Back story:
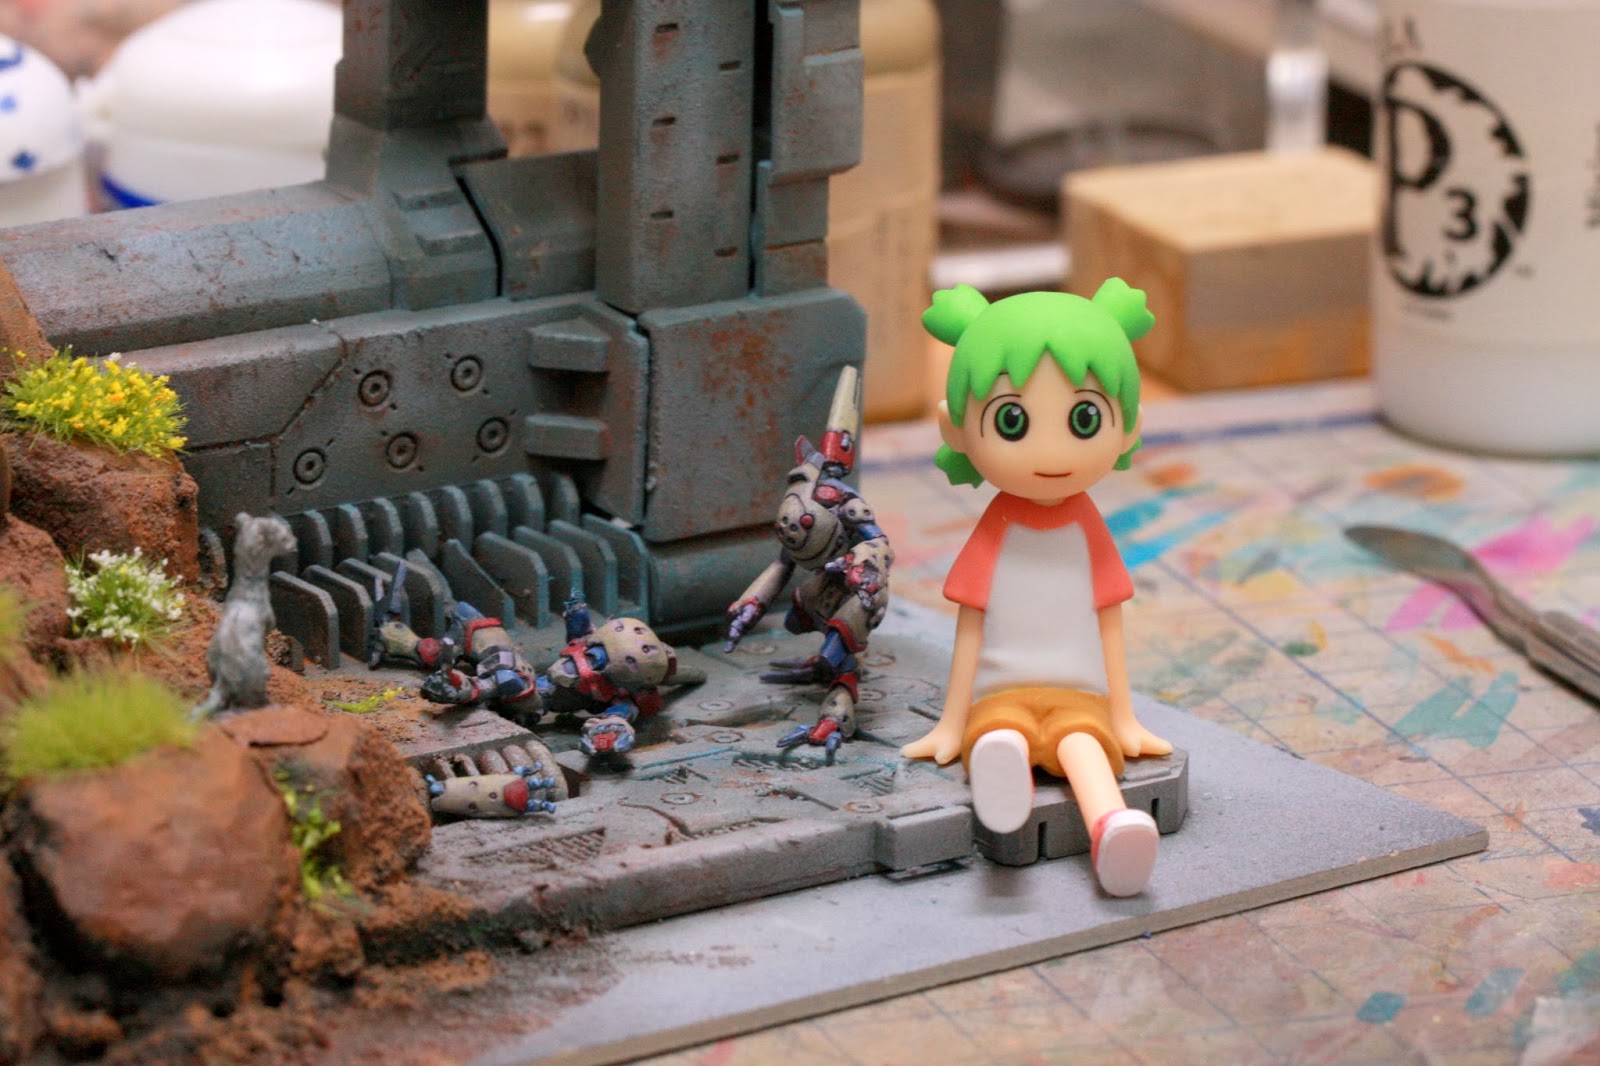
"The base was abandoned due to the land slide.  A ferret made a home among the cracks of the boulders. Sophie led two drones to check up on the base to see if it is possible to clear the boulders out.  The first drone landed on the yellow flowers and slipped, broke the hip joint and its arm upon impact on the ledges. The ferret, which was alerted by the commotion, came out and saw the severed arm.  With its natural habit of picking up loose items it took the arm by the loose wires and drag it to its lair.  Just then the second drone landed next to the fallen drone.  The drone didn't notice the ferret at first.  When it finally did, it got into battle stance, just then Sophie arrived, descending upon the scene, amused."


Here's a close up on the 'air-borne' Sophie.  The most fun I had with her is perhaps when I paint her suit.  It was only air-brushed with shadow and highlight, plus a thin blue base paint.  Because I got the contrast right this time I don't really have to paint on the blue highlights.  Same thing goes with the armor plates, which is in the same colors as the remotes.


Thank you for reading :)

Go back on the WIP adventure featuring Yotsuba-san!:
http://51-cent.blogspot.hk/search/label/sci-fi%20sophie


Forum links
This entry is replicated on the following popular miniature related forum:
WAMP Forumhttp://www.wampforum.com/VB4/showthread.php?t=16347
Reaper message boardhttp://www.reapermini.com/forum/index.php?/topic/52491-the-rescue-reaper-limited-edition-sci-fi-sophie-diorama/
CMON Forumhttp://www.coolminiornot.com/forums/showthread.php?55296-quot-The-Rescue-quot-Reaper-LE-Sci-fi-Sophie-diorama


In case you don't know who Sophie is, she is the mascot of the Reaper Miniatures.  Reaper is one of the biggest manufacturer of 30mm miniatures, mainly fantasy themed and they also have a comprehensive ranges for modern days and sci-fi adventure setting.  The following is something about this very special miniature (quoted from Miniature Giants)

Reaper Con 'SciFi' Sophie 2007 (Limited Edition, Discontinued), 

Reaper Con figures, like this one, were only available during the week of ReaperCon, in this case May 17-20, 2007, and were not made available to distributors. Furthermore, after the week of the show, the mold is retired and no additional figures are cast. This 25mm scale figure was featured on the cover of Reaper's Casketworks catalog #22 and displays a clever combination of SciFi and classic fantasy.


Thursday, November 7, 2013

severed arm put in place - Reaper LE Sci-fi Sophie diorama WIP

took me a lot of fiddling to get the arm in the right place. I made the mistake of not planning for this at the start and I cut off the pin that used to hold it when I was painting it, damn.  Anyhow the brass pin is actually still visible when looked from the side, but I guess I'd cover it up with a small grind of sand.  The area around the Ferret need some attend as well.  But overall, I think it looks very convincing.


Wednesday, November 6, 2013

Ferret painted - Reaper LE Sci-fi Sophie diorama WIP

It isn't much of a progress but to keep this blog alive, here's a less entertaining update of the diorama.  Here on, I can finally start on the star of the diorama, Sohpie.


Monday, November 4, 2013

Painting Nasmat remotes - Reaper LE Sci-fi Sophie diorama WIP

Hi everyone I am back! Such a short break is it?  Well this time around it's finally brush to miniature (instead of pen to paper) with my diorama!  We can finally moved on from the base to the miniatures!


The ferret hasn't been painted yet but the remotes are pretty much done! We'd need to put on the final highlights depending on the over all looks of the set up, but for now they are pretty much ready.  Took a lot shorter than I thought.


So, this is how we started, we spray painted the primer on and used dark and light paint air brushing to get the shadows and lighting right.  Although they actually look better with just the dark and light air-brushing, I believe some day I would be just as good with the lighting effect... I'd just have to understand color and paint mixing better...


Learning from my mistake, this time the 'light' paint isn't purely white but actually it's a light purple.  That is because painting whitish color is hard for me as I tend to over paint it.  So with this air-brushed light pink it could bring out the whitish highlight color easier.


I am following a color scheme that I found on line, instead of using the box art.  I am planning to use the same blue-red-khaki color scheme on Sophie... when I finally get to paint her this week..


I had applied a very focused and careful wash to the recesses of the ferret, and all its features got a lot more apparent.  Again, well done Reaper for such a fine tiny metal miniature.  (yes, metal, not BONES ;) )


The fun part, I guess, is to place them on to the base. I learned the hard way that all these elements are suppose to be pinned, not just glued, to the base.  So what I did is I drilled a bigger hole, put green stuff in the hole, and press the pin to the green stuff, with a bit of glue to its feet.


And of course, the whole point of the base is to let the Remote lock gaze with the Ferret.  so I had to check several times that their gaze met.


Notice how I haven't took a close up shot of them? that is because I haven't really completed painting them so I am saving the close up shots for later :)

bye for now :)


Friday, October 25, 2013

Reaper LE Sci-fi Sophie diorama - the 4th character

 If you recall, there was only one drone on the ground, looking at the ferret.  But his body language is saying that he is disctracted by the ferret, so that means he was suppose to be looking at something before the ferret pops up from his lair... hence I give made that 'something.
By the way, the drones are actually Nasmat remotes from Infinity Miniatures


The story goes: the fallen drone landed on the rock slide at the site, but he slipped! He fallen to the the hard ground of the launch pad, the raised part of the base broke his right hip joint and its right arm.  The ferret came out, saw the broken arm laying around, he went over to pulled it off and carried it to its lair.
The drone send off distress signal and the other drone landed, observing its fallen friend.  Suddenly the arm fall off from the ferret's grip and attracted the attention of the drone, all the while Sohpie came descending down from above....


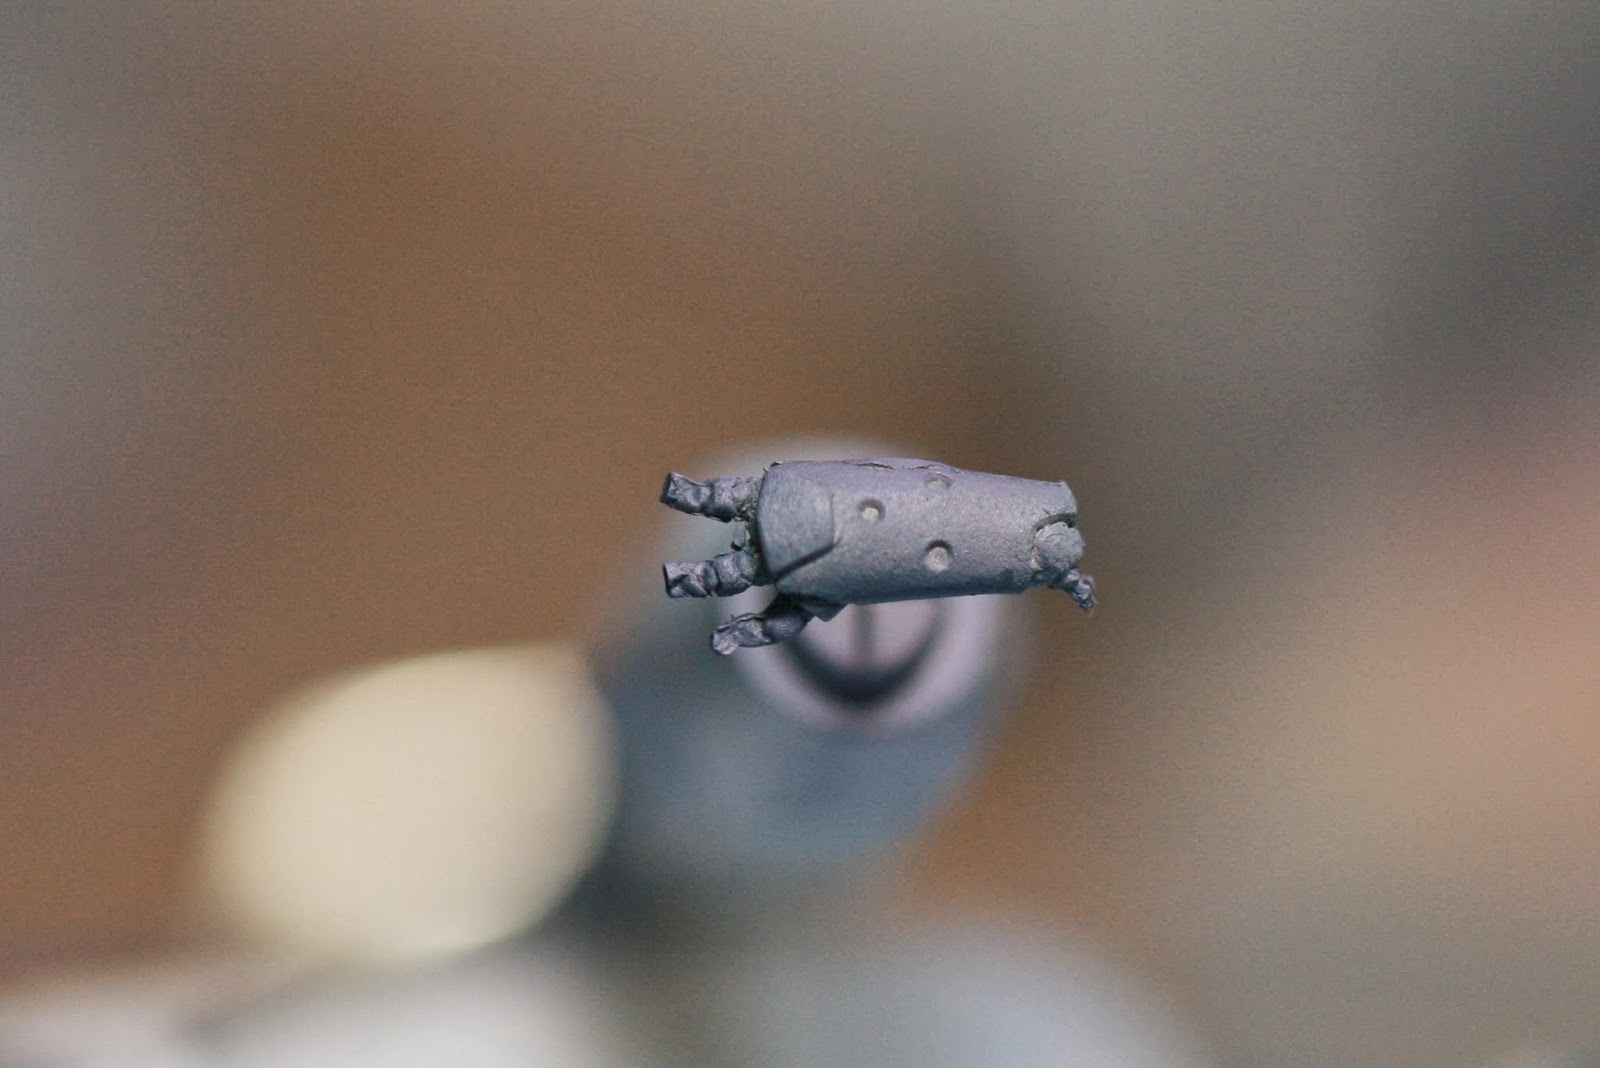
I had to cut off its right leg at the joint or else he doesn't look like he is in distress.  I then put a pin (short portion of a paper clip) to connect the leg to the body.  As I imagine there should be wires running between the limbs and the body, I glued some very thin wires to the arm and the joint, hopefully they would look convincing enough.


oh by the way, my little assistant took a break so she didn't make an appearance this time.

Saturday, October 19, 2013

Reaper LE Sci-fi Sophie diorama base WIP 4

Yep we are still working on the base because when I finish painting Sophie I will lost interest and the base will look horrible.  And yes, Yosubato is making another appearance, although she seems busy with the ferret.

The idea is that I need to fit the miniature in place BEFORE it got painted.  One hard lesson that I learn from doing dioramas.  It comes with a small base so that its foot and tail have somewhere to sit on.  I did my best in cutting and chipping away the metal base and made it as small as possible.  Then I chipped a hole on the 'rock' and try to fit it in, and used green stuff to fill in the gap around it.  Because the rock is actually clay it doesn't really stick to the green stuff too much.  I managed to wiggle it off the rock pretty easily.

(It just occur to me that I need to pin it to the base when it is done else it will fall out of place.)


I got a small lump of green stuff left after I fixed up the base for the ferret, so I used them to smooth over the cutting marks on the structures.


As it turns out it looks quite nice and smooth.  Good thing about green stuff is that it won't shrink a lot, unlike putty.  Because it felt a bit like hard rubber I can actually scrape on it to create a smoother surface.


I always thought of replacing her wings with another more futuristic wings like the one in the picture.  But as it turns out it isn't such a good idea because the wings (taken from SD Gundum) is too "cartoonish". Plus, the diorama has a lot of  nature elements to it so I guess her original wings would fit better.  It costed me US$5 to buy the SD Gundum and it's pretty costly just for that pair of wings.  Oh well.


Originally I thought of adding a pin to the tip of the wing but it seems pretty hard and she would get too high off ground.  Instead I placed two pins to the back of the tip.  It took a bit of very careful drilling and I almost drilled through to the other side with the upper one.  It created a small bubble on the front and I had to send it away.  I am very surprised the brass rod could actually hold her up, but I guess at the end I would have to glue the wing to the structure.


I am pleased at the result, the whole point is to make her look like she is flying.  But personally I would always look for the connection point, the part where the model is connected and suspended.  Because it is connected in a less conventional way it would be less obvious to the viewer, so I hoped.


So to make the structure looks more damaged and blended in with the whole setting, I will do a lot of weathering to it.  I had never did salting before so probably I had wasted a bit of pigments here.  What I did is I used Secret Weapon wash as the suspension medium and added a lot of pigments to the mix.  It looks very good actually but I haven't let got a good shot at it yet.  The thing is, because I will be doing salting, a lot of the pigment will be lost in the process.  So I could have simply just painted it brown instead of using pigments... but I guess I want to see how it looks like if I use medium and pigments.  Oh well.


Until next entry, thanks for reading.


Wednesday, October 16, 2013

Making boulders with paper clay 2/2 - Reaper Sci-fi Sophie diorama WIP

So before I put Sophie there I think Yotsubato would be the main attraction these entries.

"Hi everyone!"
So here it is, I put a big piece of cardboard as background so that my paint rack won't confuse everyone.


To add more texture to the rocks I used a carving knife to chip away the smoother and rounder surfaces of the balls of clays, so it looks less like rabbit poo ;).  The 'mud' dried out very nicely, I guess by accident I found a way to more evenly and randomly apply sand to an area.


I first air brushed the recess and gaps and holes and cracks between the balls of clay with dark blue.  I did the same for the edge so that it looks more like an edge and it helps with directing focus to the middle of the setting.  I haven't done a great job with the mix for the highlights but as it turns out, the mix was just right for the structure.


The mixture was a white + light blue + brown.  I air brushed the whole structure trying to show the different layers of the base and giving it more dramatic lighting.  I guess I might need to do more air brushing with the structure, but I guess I'd do some weathering first.  Also I need to do quite a bit of base coating to cover up places where it used to stick to the plastic frame.


[[[ for closer to finish looks of the boulders, please visit: http://51-cent.blogspot.hk/search/label/sci-fi%20sophie  ]]]


Here's a shot of the back of the structure.  Next up, the ferret.


Thursday, October 10, 2013

Making boulders with paper clay 1/2 - Reaper Sci-fi Sophie diorama WIP

To give the little robot a place to stand and to add more levels to the 'sci-fi' side of the base, I will put in a collapsed structure like so.  That's the best I can think of, not only it made it more interesting, it doesn't cover the details on the flat base as well.


Then I glued two pieces of card stock to the left side, then made some large boulders using paper clay.  I put some lubricant on the inner sides of the card stock so that it won't stick to the paper clay too much.  Hope it works.  Notice the little hole in the lower mid section of the pile, that is suppose the liar of the ferret


In my mind the story goes like this: the launch pad was built at the bottom of a valley and serve as a 'pit stop' for quick repair work.  After it was abandoned there was a landslide and covered half of the base with boulders.  Then years and years of more sand and weather it looks like part of the neighboring hill.

So to create a more realistic land I mixed the pumice with water and sand, then I pour the mix on the paper clay.


Before it dries they actually looks like chunky sauce.  Before everything dried I made a place for the ferret to stand.  The idea that I am trying to convey is that this little guy is standing right outside of the liar to see what is getting near its home.


This shot was taken the morning after, the mix was completely dried and it looks a lot less thick.  I guess I need to add some more pumice on the base and various spots tonight.


Background is a bit confusing though, but this gives an idea on how the whole thing looks like when put together.  I photoshop my hand out so actually the mini is not attached to the base yet.
[[[ for closer to finish looks of the boulders, please visit: http://51-cent.blogspot.hk/search/label/sci-fi%20sophie  ]]]


Related Posts Plugin for WordPress, Blogger...